Custom properties
Custom properties allow you to attach additional metadata to pageviews and custom events. This lets you segment your analytics data by any dimension that matters to your business.
Setting up custom properties
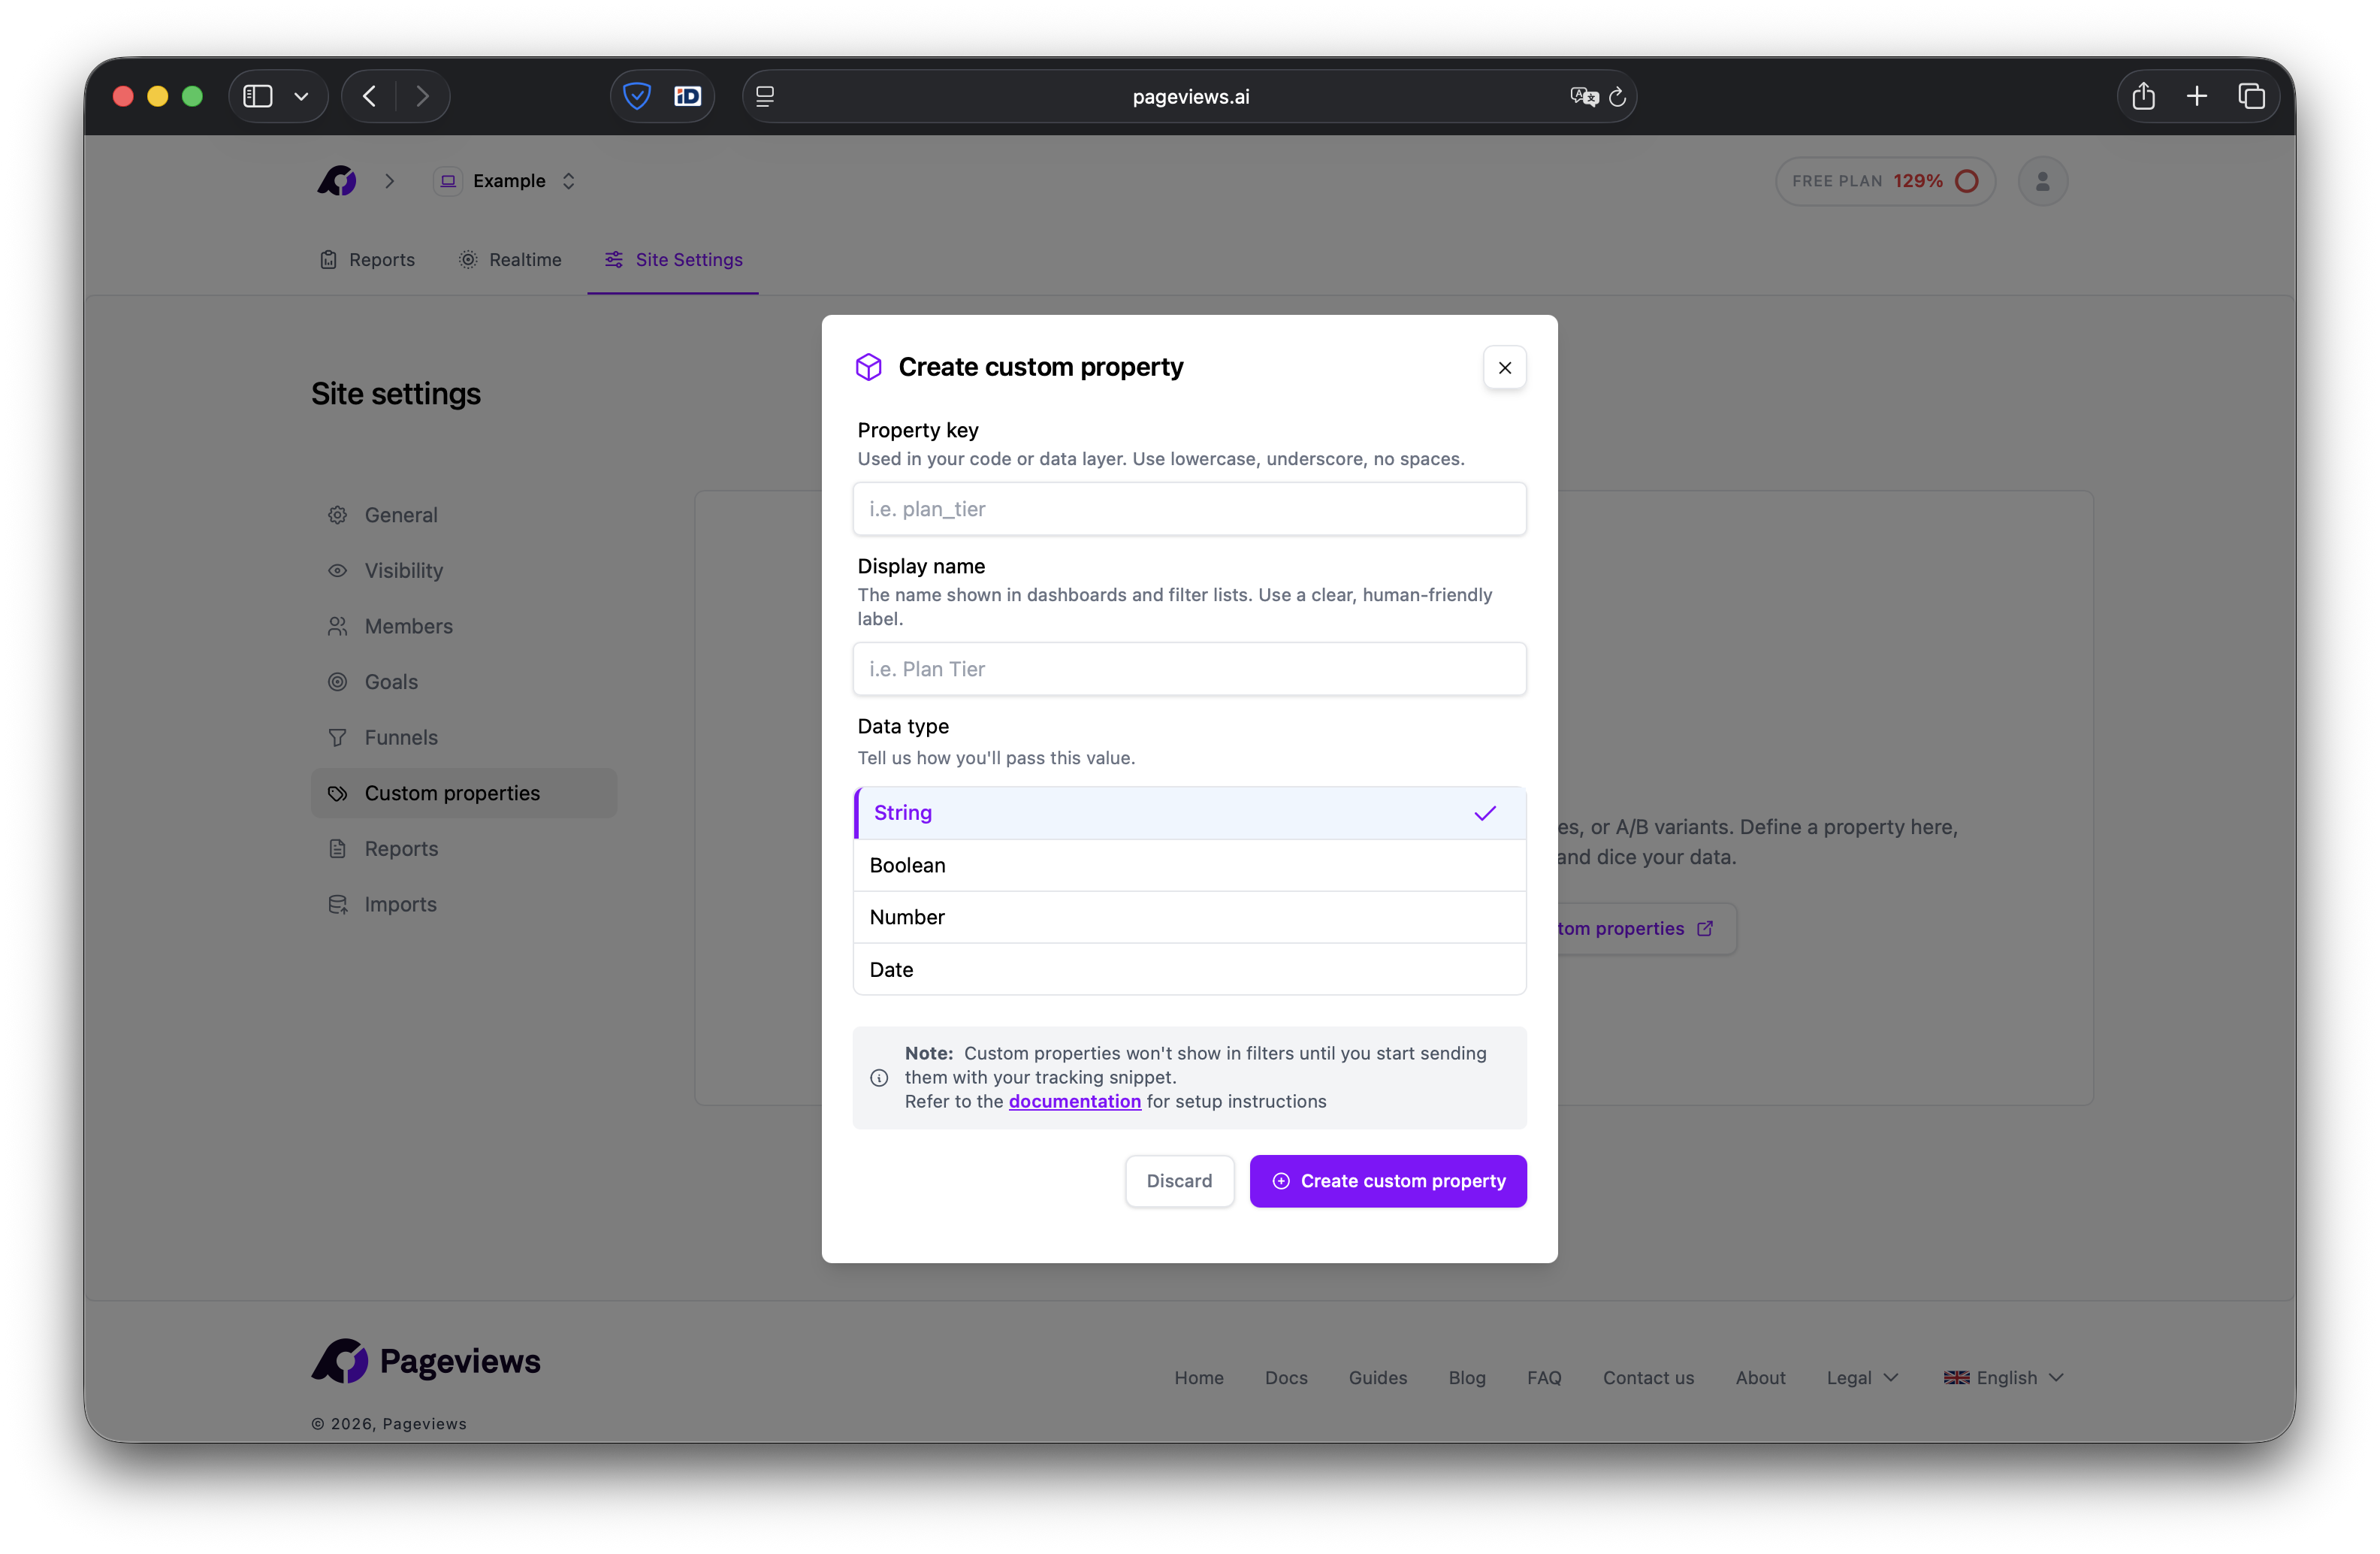
- Go to your Site Settings → Custom Properties page.
- Click Add Property.
- Enter the property key (e.g.,
author,category,plan). - Select the property type: string, number, boolean, or date.
- Click Save.
Sending properties with events
Attach properties to custom events using the props parameter:
pageviews('Purchase', { props: { plan: 'pro', price: 10, annual: true } });Sending properties with custom events
Attach properties to any custom event using the props parameter in the track command:
pageviews('track', 'Article View', { props: { author: 'John Doe', category: 'Tutorial' } });Viewing property data
Once properties are flowing in, you can use them in your dashboard reports:
- Goal conversion breakdowns — See which property values drive the most conversions.
Report filters — Filter your entire dashboard by a specific property value.
Property types
| Type | Description | Example |
|---|---|---|
| String | Text values | plan: "pro" |
| Number | Numeric values | price: 29.99 |
| Boolean | True or false | logged_in: true |
| Date | Date values | published: "2025-01-15" |
Tips
- Custom properties are available on the Pro plan and above.
- Property keys are case-sensitive. Be consistent across your site.
- Keep property values concise and use a controlled vocabulary where possible (e.g.,
free,pro,enterpriserather than freeform text).